React 초기 세팅, CRA 세팅하기 (Router v6 / styled-component)
node, npm 설치
CRA(Create-React-App)
CRA Setting
라이브러리 설치
프로젝트 파일 , 폴더 수정 및 삭제
ESLint + Prettier
node, npm 설치
node.js를 설치하면 npm도 함께 설치된다.
설치가 잘 되었는지 확인하려면 터미널을 실행시켜 node-v / npm-v 를 입력후 버전을 확인해준다.
Node.js
Node.js® is a JavaScript runtime built on Chrome's V8 JavaScript engine.
nodejs.org

CRA(Create-React-App)
💡 리액트 프로젝트를 시작하는데 필요한 개발 환경을 세팅 해주는 도구 (toolchain)
리액트는 UI 기능만 제공한다. 따라서 개발자가 직접 구축해야하는 것들이 많다. 전반적인 시스템을 직접 구축할 수 있으니 원하는 환경에 맞게 최적화할 수 있지만, 반대로 신경쓸 것이 많기 때문에 처음 시작하는 단계에서는 직접 개발 환경을 구축하기 어려울 수 있다.
CRA에는 바벨과 웹팩과 같이 리액트 애플리케이션 실행에 필요한 다양한 패키지가 포함되어 있으며, 테스트 시스템, ES6+ 문법, CSS 후처리 등 거의 필수라고 할 수 있는 개발 환경도 구축해 준다. CRA를 이용하면 기존 기능을 개선하거나 새로운 기능을 추가했을 때 패키지 버전만 올리면 된다.
CRA Setting
// 1. Desktop - project 폴더 진입
cd Desktop/project

// 2. 프로젝트 원하는 이름으로 설치
npx create-react-app react-miniproject

// 3. react-miniproject 프로젝트 진입
cd react-miniproject

// 4. 로컬 서버 띄우기
npm start
npm start 로 로컬서버를 띄우면 http://localhost:3000/ 주소로 아래와 같은 화면이 띄어진다.
라이브러리 설치
React-Router
https://reactrouter.com/docs/en/v6/getting-started/installation
npm install react-router-dom@6 --save
styled-Component
https://styled-components.com/docs/basics#installation
npm install --save styled-components

npm install --save styled-components styled-reset
1) src > styles > Globalstyles.js
import { createGlobalStyle } from 'styled-components';
import reset from 'styled-reset';

const GlobalStyle = createGlobalStyle`
${reset}

  * {
      padding: 0;
      margin: 0;
      box-sizing: border-box;
      font-family: 'Noto Sans KR', sans-serif;
  }

  a {
      text-decoration: none;
      color: black;
  }

  button{
      display: flex;
      cursor: pointer;
      outline: none;
      border-radius: 3px;
    }

    input{
        display: flex;
        outline: none;
        padding-left: 10px;
        }

`;

export default GlobalStyle;
2) src > styles > mixin.js
import { css } from "styled-components"

const Navigation = styled.nav`
  position: fixed;
  left: 0;
  top: 0;
  right: 0;
  ${Sticky}
`;

const Sticky = css`
  position: fixed !important;
  background-color: white;
  border-bottom: 1px solid rgba(0, 0, 0, 0.11);
  box-shadow: 0 0 5px rgba(0, 0, 0, 0.11);
  transition: all 0.6s ease-in-out;
  color: black;
`;

//

const RingVariant = (radius, stroke = "10") => css`
  position: absolute;
  border-radius: 50%;
  height: ${radius * 2}px;
  width: ${radius * 2}px;
  border: ${stroke}px solid rgba(0, 0, 0, 0.5);
`;
3) src > styles > theme.js
const theme = {
background: '#FFFEFC',
white: '#FFFFFF',
};
export default theme;
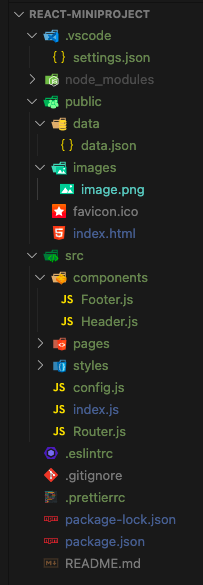
프로젝트 파일 , 폴더 수정 및 삭제
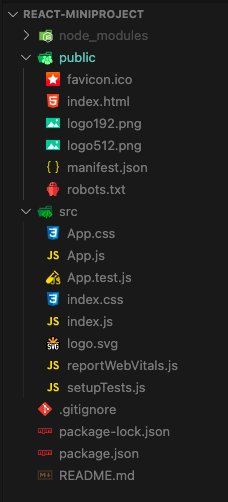
node.modules
CRA를 구성하는 모든 패키지 소스 코드가 존재하는 폴더
package.json
CRA 기본 패키지 외 추가로 설치된 라이브러리/패키지 정보(종류, 버전)가 기록되는 파일
.gitignore
github 에 올리고 싶지 않은 폴더와 파일을 작성할 수 있다.
public > index.html
<!DOCTYPE html>
<html lang="en">
<head>
<meta charset="utf-8" />
<link rel="icon" href="%PUBLIC_URL%/favicon.ico" />
<meta
name="description"
content="Web site created using create-react-app"
/>
<link
href="https://fonts.googleapis.com/css2?family=Noto+Sans+KR&display=swap"
rel="stylesheet"
/>
<title>React App</title>
</head>
<body>
<div id="root"></div>
</body>
</html>public > images > logo.png (공통으로 쓰이는 image 관리)
public > data > data.json (mock data 관리)
* public 폴더의 역할
- 서버랑 연결된 특정 url로 접근하면 해당 폴더의 파일을 요청할 수 있는 것 → 뒤에 따로 추가적인 url을 안붙이면 `index.html`을 요청한다.
- e.g.) `[https://naver.com](https://naver.com)`. → 로 접근하면 naver.com에 연결되어있는 서버 컴퓨터의 폴더에 접근해서 `index.html`을 가져오는 것
- 우리가 CRA를 배포했을 때 실제 서버에 배포되는 폴더가 `public`폴더
- 우리가 public에 특정 디렉토리, 파일을 만들어두면 서버 url 통해서 접근이 가능하다.
예시로, `public/images/test.png` 파일을 만들어두면, `http//localhost:3000/images/test.png` 을 브라우저 주소창에 입력하면 우리가 작성해둔 파일이 오는것을 볼 수 있다.
src > index.js
ReactDOM.render( <App /> , document.getElementById('root'))
- 첫 번째 인자는 화면에 보여주고 싶은 컴포넌트
- 두 번째 인자는 화면에 보여주고 싶은 컴포넌트의 위치
import React from 'react';
import ReactDOM from 'react-dom';
import Router from './Router';
import GlobalStyle from './styles/GlobalStyle';
import { ThemeProvider } from 'styled-components';
import theme from './styles/theme';
ReactDOM.render(
<>
<GlobalStyle />
<ThemeProvider theme={theme}>
<Router />
</ThemeProvider>
</>,
document.getElementById('root')
);
🥑 components vs pages
- 여러 페이지에서 동시에 사용되는 컴포넌트의 경우 components 폴더에서 관리. (ex. Header, Nav, Footer)
- 페이지 컴포넌트의 경우 pages 폴더에서 관리.
- 해당 페이지 내에서만 사용하는 컴포넌트의 경우 해당 페이지 폴더 하위에서 관리
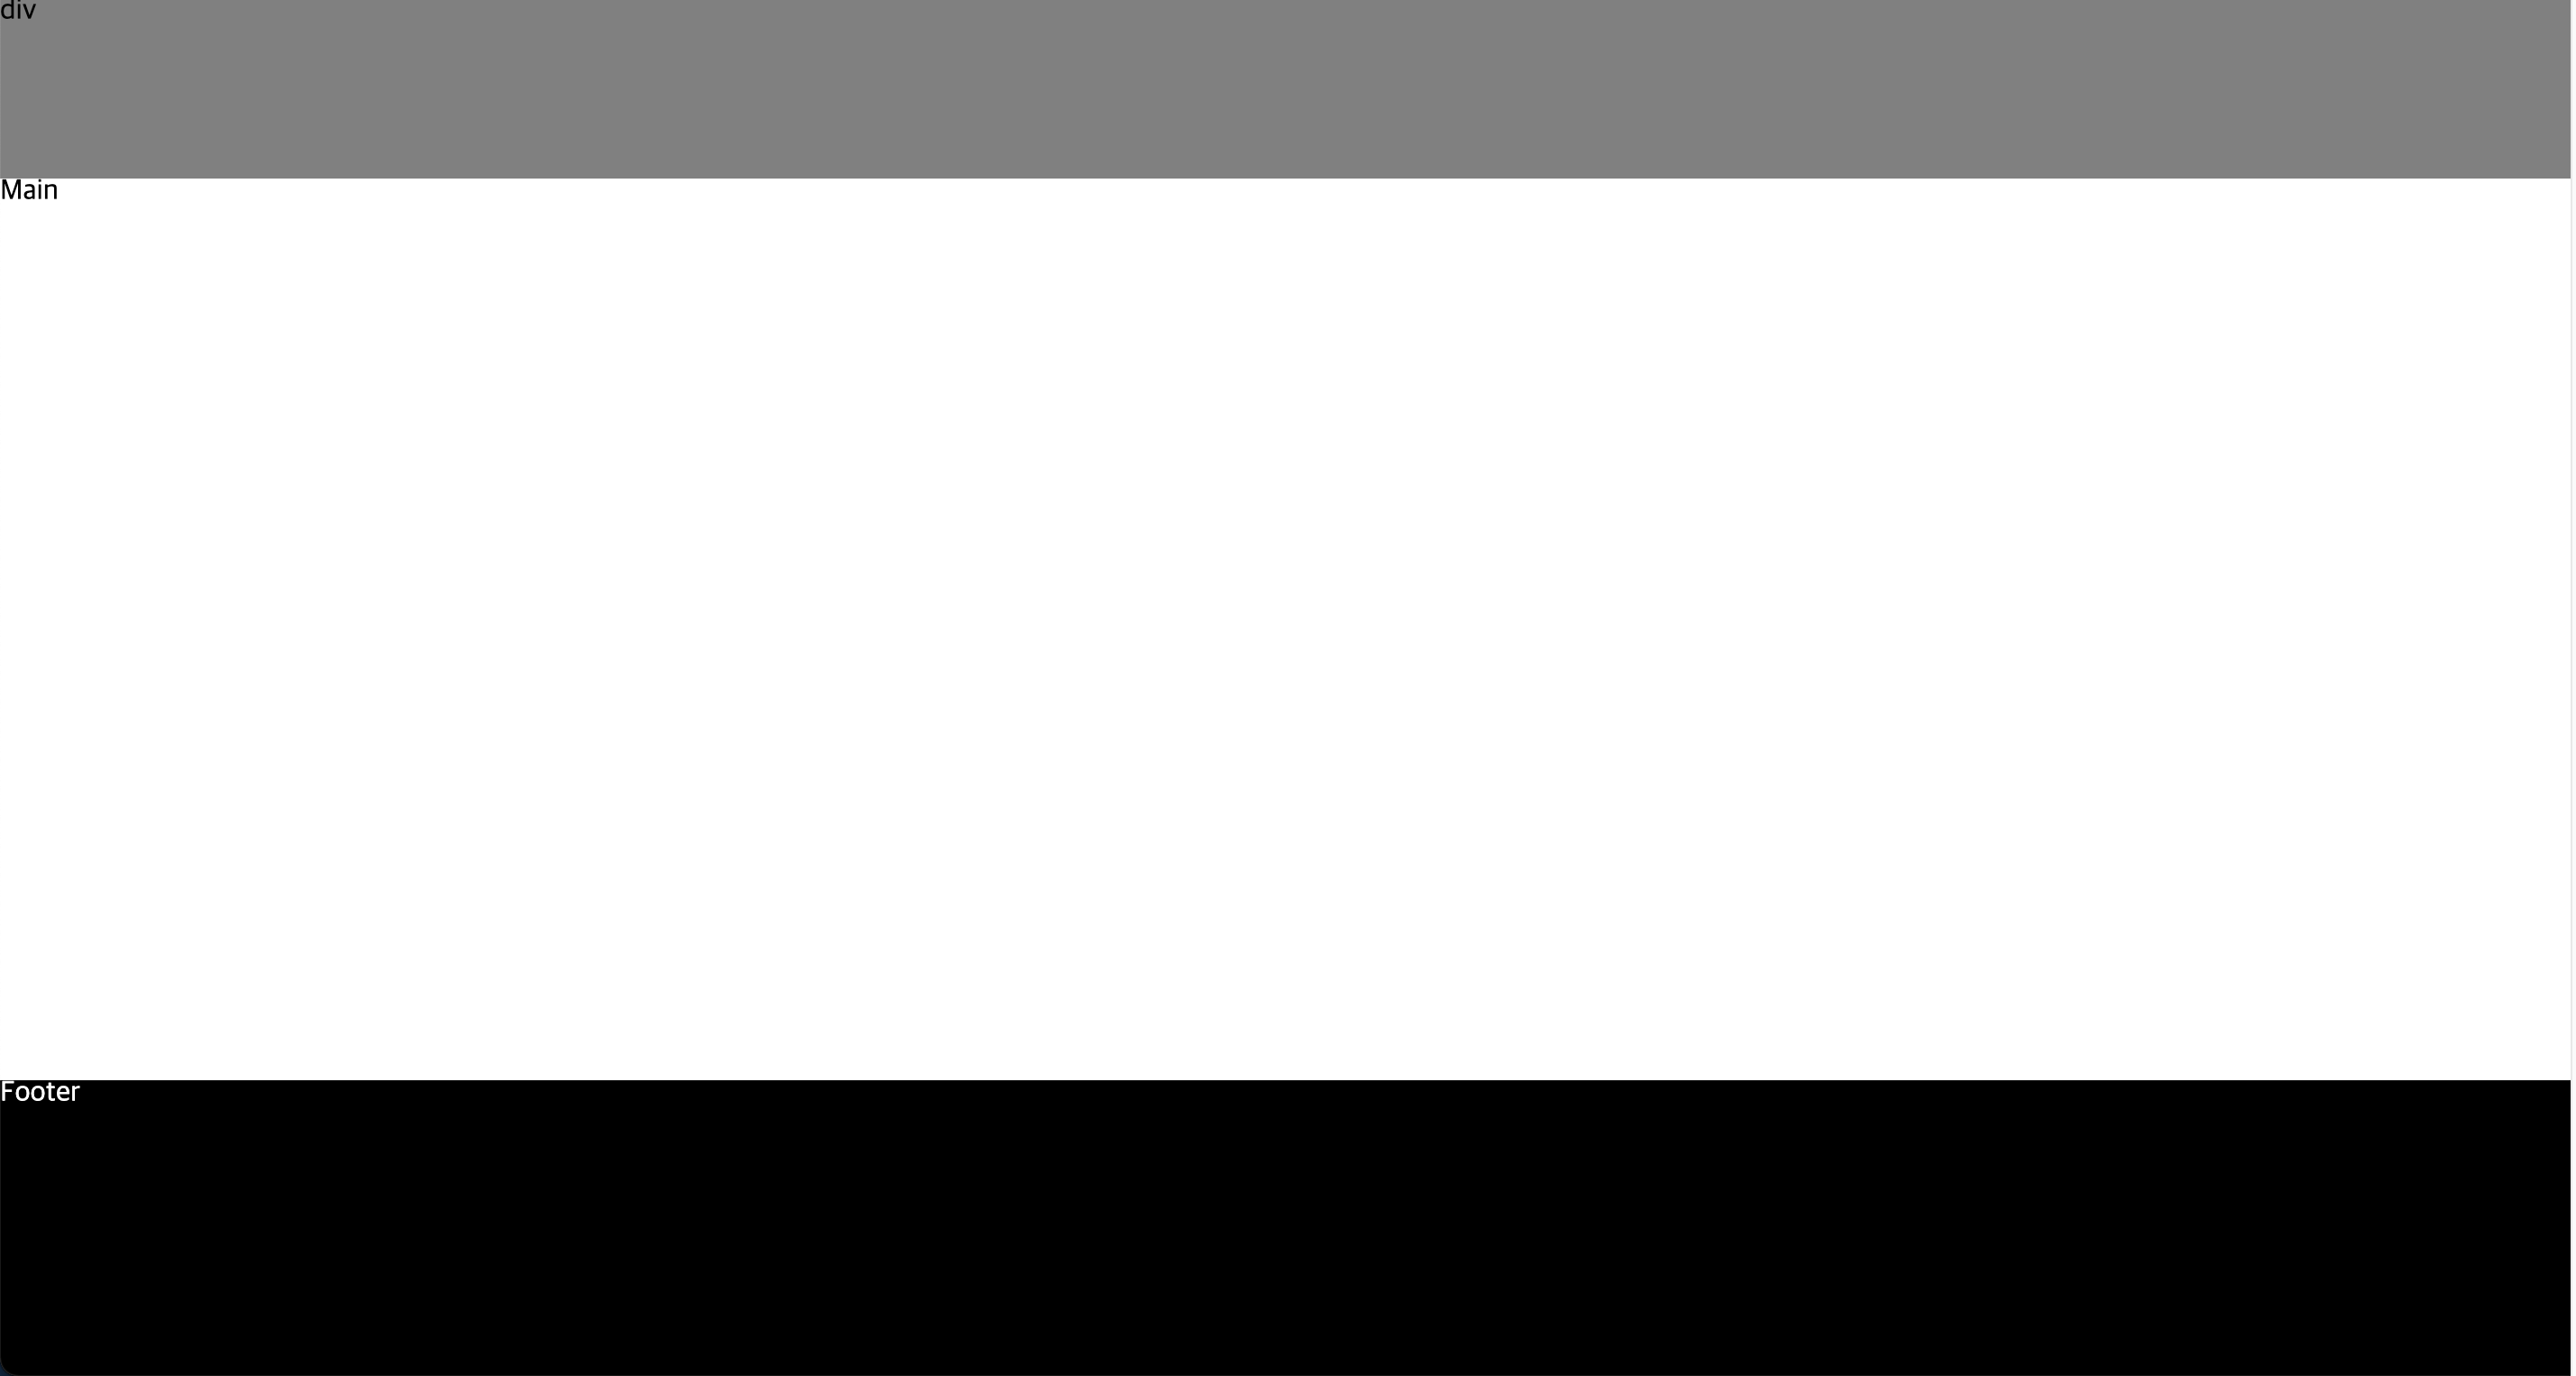
src > components > Footer.js / Header.js
src > pages > main > main.js
import React from 'react';
import styled from 'styled-components';
export default function Footer() {
return <FooterWrapper>Footer</FooterWrapper>;
}
const FooterWrapper = styled.div`
height: 500px;
background-color: black;
color: white;
`;
src > Router.js (Router v6)
import React from 'react';
import { Route, Routes, BrowserRouter } from 'react-router-dom';
import Header from './components/Header';
import Footer from './components/Footer';
import Main from './pages/Main/Main';
import Accordion from './pages/Accordion/Accordion';

export default function Router() {
  return (
    <BrowserRouter>
      <Header />
      <Routes>
        <Route path="/" element={<Main />} />
        <Route path="/accordion" element={<Accordion />} />
      </Routes>
      <Footer />
    </BrowserRouter>
  );
}
src > config.js
const BASE_URL = 'https://example';

export const API = {
  example: `${BASE_URL}/example`,
};
ESLint + Prettier
💡 코드 품질을 높이기 위해서!
Prettier, ESLint 확장프로그램 설치
파일 생성
1) .vscode > settings.json
{
  "editor.defaultFormatter": "esbenp.prettier-vscode",
  "editor.tabSize": 2,
  "editor.formatOnSave": true,
  "editor.codeActionsOnSave": {
    "source.fixAll.eslint": true,
  },
  "javascript.format.enable": false,
  "eslint.alwaysShowStatus": true,
  "files.autoSave": "onFocusChange"
}
* npm start 실행시 ERROR in Failed to load plugin 'prettier' declared in '.eslintrc': Cannot find module 'eslint-plugin-prettier' 에러 났을때, 추가하기
"eslint.workingDirectories": [ "./frontend" ]
2) .eslintrc
(맥유저일때)
{
  "extends": ["react-app", "plugin:prettier/recommended"],
  "rules": {
    "no-var": "warn", // var 금지
    "no-multiple-empty-lines": "warn", // 여러 줄 공백 금지
    "no-nested-ternary": "warn", // 중첩 삼항 연산자 금지
    "no-console": "warn", // console.log() 금지
    "eqeqeq": "warn", // 일치 연산자 사용 필수
    "dot-notation": "warn", // 가능하다면 dot notation 사용
    "no-unused-vars": "warn", // 사용하지 않는 변수 금지
    "react/destructuring-assignment": "warn", // state, prop 등에 구조분해 할당 적용
    "react/jsx-pascal-case": "warn", // 컴포넌트 이름은 PascalCase로
    "react/no-direct-mutation-state": "warn", // state 직접 수정 금지
    "react/jsx-no-useless-fragment": "warn", // 불필요한 fragment 금지
    "react/no-unused-state": "warn", // 사용되지 않는 state
    "react/jsx-key": "warn", // 반복문으로 생성하는 요소에 key 강제
    "react/self-closing-comp": "warn", // 셀프 클로징 태그 가능하면 적용
    "react/jsx-curly-brace-presence": "warn" // jsx 내 불필요한 중괄호 금지
  }
}
* Window 환경에서 delete 'cr' prettier/prettier 문제가 일어날 때 추가
"prettier/prettier": [
"error",
{
"endOfLine": "auto"
}
]
3) .prettierrc
{
  "tabWidth": 2,
  "endOfLine": "lf",
  "arrowParens": "avoid",
  "singleQuote": true
}
npm start 시 실행 화면